
Easy Red 2 Gold Dog Tags: Locations and Loadout Guide
Find Easy Red 2 gold dog tags with mission and phase locations, learn how to collect them correctly, and equip special soldier loadouts in singleplayer.
Jump to
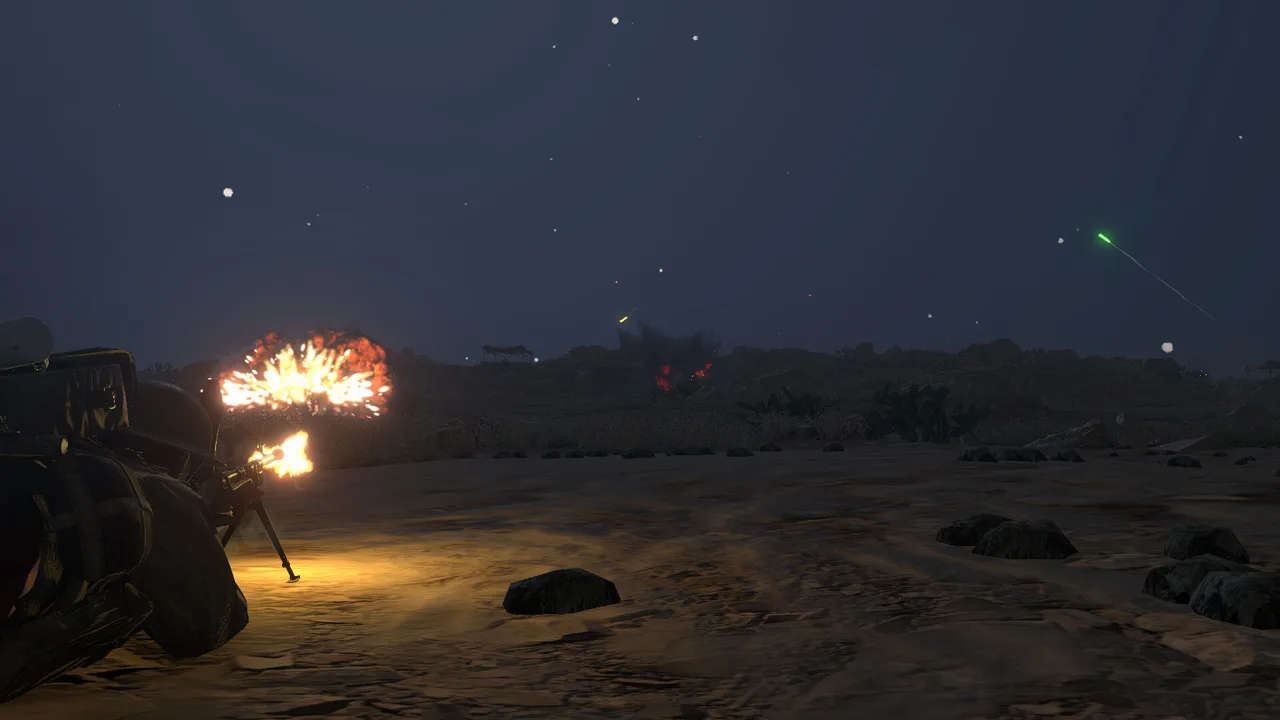
How to Collect Gold Dog Tags and Unlock Special Soldiers
Easy Red 2 gold dog tags unlock named soldiers with special loadouts for singleplayer battles. Collecting them gives you access to unusual equipment combinations, including sniper rifles paired with submachine guns and loadouts carrying the Obrez Pistol. To collect a tag, interact directly with the soldier’s body—opening the inventory and taking equipment does not collect it.
These soldiers appear in specific missions during specific phases. They operate independently of ordinary squads and often fight alone, making their equipment and position useful clues when searching a crowded battlefield.
Follow this collection checklist:
- Load the mission containing your target soldier.
- Advance to the required phase, including any specified victory conditions.
- Search the listed objective, flank, or landmark for the soldier or their body.
- Interact directly with the body to collect the tag.
Use the locations below to plan your search around mission phases. Equipment descriptions help distinguish the target, but the direct body interaction is the essential collection step.
How to Spawn With an Unlocked Loadout
Select the unlocked special loadout in the pre-mission menu, then enter a mission that allows infantry squad selection. In the spawn menu, look for the special soldier at the end of the infantry list.
The special soldier is available for one spawn in that mission. Plan that deployment around the equipment you want to use.
Unlock availability follows the official map:
- Kwajalein and Roi-Namur have separate loadout selections, despite both belonging to Operation Flintlock.
- Operation Konrad and Operation Spring Awakening share loadout availability through the Lake Balaton map.
- Custom missions can use these unlocked loadouts when they use the same official map.
Official page: Easy Red 2 (easyred2.com)
Anzio and Cassino Dog Tags
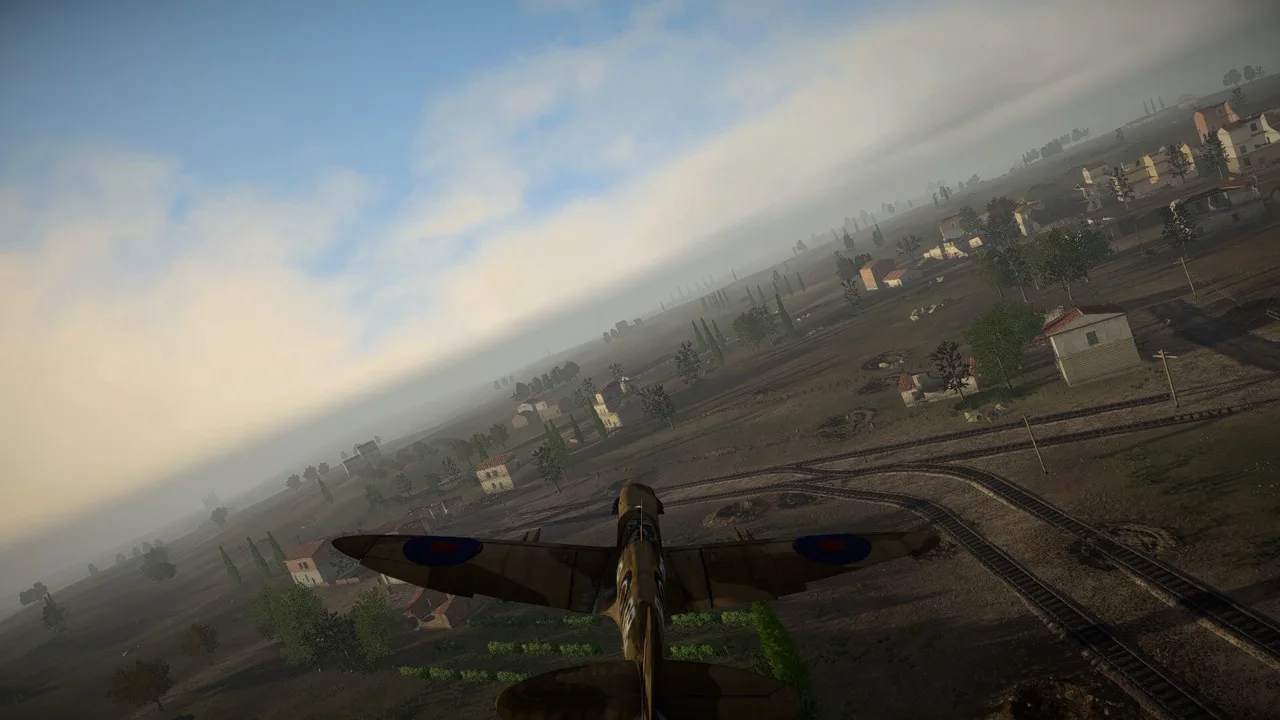 Image: Steam / Marco Amadei
Anzio
In Breakout: Clearing Cisterna, look for Sylvester Antolak and Audie Murphy. Antolak’s listed primary weapon is an M1 Thompson; Murphy’s loadout combines an MG 42 without a bipod and an M1 Carbine.
Use that mission name when targeting these unlocks. Older Anzio mission names and equipment descriptions can lead you toward a different battlefield setup.
Cassino
Cassino offers several searches with distinct phase and objective cues:
- Henry Guarnere — Towards Monte Trocchio: Phase 2, during the attack on Taverna town. His weapons include an M1 Carbine and M1A1 Thompson.
- Joseph Hochadel — Cervaro Highlands: Phase 3 or 4, attacking the final part of Cervaro town. Look for an American medic carrying an M1A1 Thompson and S&W Victory.
- Oberto Pellegrini — Cervaro Highlands: Phase 2, defending the northern capture point. His Carcano M91 Cavalry Carbine and Adrian helmet distinguish him from the American target.
- Dilbahadur Khattri — 3rd Battle: Assault on Castle Hill: Phase 3, after the castle hill is captured. His loadout includes an M1A1 Thompson and Enfield No. 2 Mk I*.
- Rudolf Böhmler — Atop Snakeshead Ridge: Phase 3, defending the town containing the church. Look for a German soldier carrying an StG 44 and Luger P.08.
Search Cervaro Highlands at both listed stages to pursue Hochadel and Pellegrini during the same mission.
Tunisia and Kos Mission Locations
Northern and Southern Tunisia have separate map-based loadout selections. Match the operation and mission before searching a particular flank.
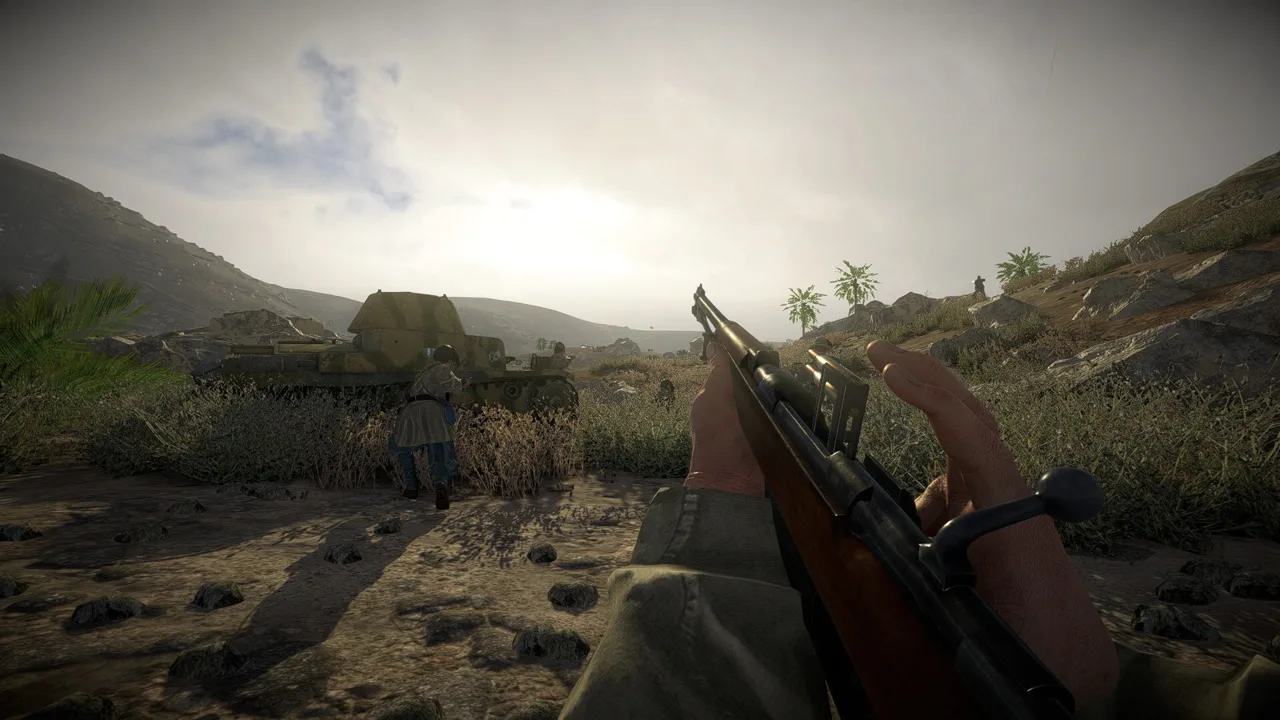 Image: Steam / Marco Amadei
| Soldier | Mission | Phase and search area |
|---|---|---|
| Ahmed El Abed | Medjez-el-Bab Resistance | Phase 2, behind the western capture point |
| Charles de Lambilly | Medjez-el-Bab Resistance | Phase 4, behind the western capture point |
| Johannes Scheid | Hill 286 | Phase 3, on Hill 286 |
| Francesco La Fata | Taking Sedjenane | Phase 1, behind the capture point with German reinforcements |
| Albert Alfred Picot | Taking Sedjenane | Phase 2, behind the capture point near Sedjenane |
| William L. Nelson | Taking Sedjenane | Phase 2, at the first capture point |
| John Anderson | Longstop Hill | Phase 1, western flank |
| John Patrick Kenneally | Longstop Hill | Phase 2, eastern flank near the captured point |
| John Oscroft | Longstop Hill | Phase 3, behind British lines |
| Georg Neuffer | Battle for Bizerte | Phase 5, western flank |
| Dominique Bartolini | Gafsa Airfield Drop | Phase 4, attacking the town |
| Robert D. Booker | Fruhlingswind: Sidi-Bou-Zid Charge | Phase 1, defending the western capture point |
| Fritz Fullriede | Struggle for Sbiba Gap | Phase 2, attacking the second Allied defensive position |
| Jean Silvy | Pushing the Tebaga Gap | Phase 2, at the westernmost capture point |
| Giuseppe di Bartolo | Encircling at Gabès | Phase 2, entering the town |
Longstop Hill provides a clear sequence: search the western flank in Phase 1, the eastern flank in Phase 2, and behind British lines in Phase 3. Anderson carries a Thompson, Kenneally carries a Bren, and Oscroft pairs a Sten with a PIAT.
In Struggle for Sbiba Gap, Fullriede’s Gewehr 41 and M1A1 Bazooka combination gives you a distinctive equipment clue.
Kos
Several Kos targets appear late in their missions:
- Felice Leggio — Invasion of Marmari: Phase 6. Look for an Italian soldier with an MAB 38, Beretta M1934, and Bustina cap.
- Francesco De Giovanni — Kardamaina: Final phase, at one of the two capture points. He carries a Breda 30.
- Dante Zucchelli — Kos Harbour: Phase 4, defending the harbor. His weapons include a Carcano M91 Cavalry and Beretta M1934.
- James G. Gray — Kos Airport: Phase 4, in the town attacked before the airport. He wears a British uniform and carries a Sten Mk II and S&W Revolver.
- William Patrick Reilly — Kos Airport: Phase 5, at the airport entrance. Look for a British uniform, Brodie helmet, and Lee Enfield No. 4 Mk I.
Gray and Reilly are playable through the Italian selection despite their British uniforms. Check that selection when equipping their unlocked loadouts.
Pacific Dog Tags: Kwajalein, Roi-Namur, and Makin
Keep separate checklists for Kwajalein and Roi-Namur. An unlock on one island does not populate the other island’s loadout selection.
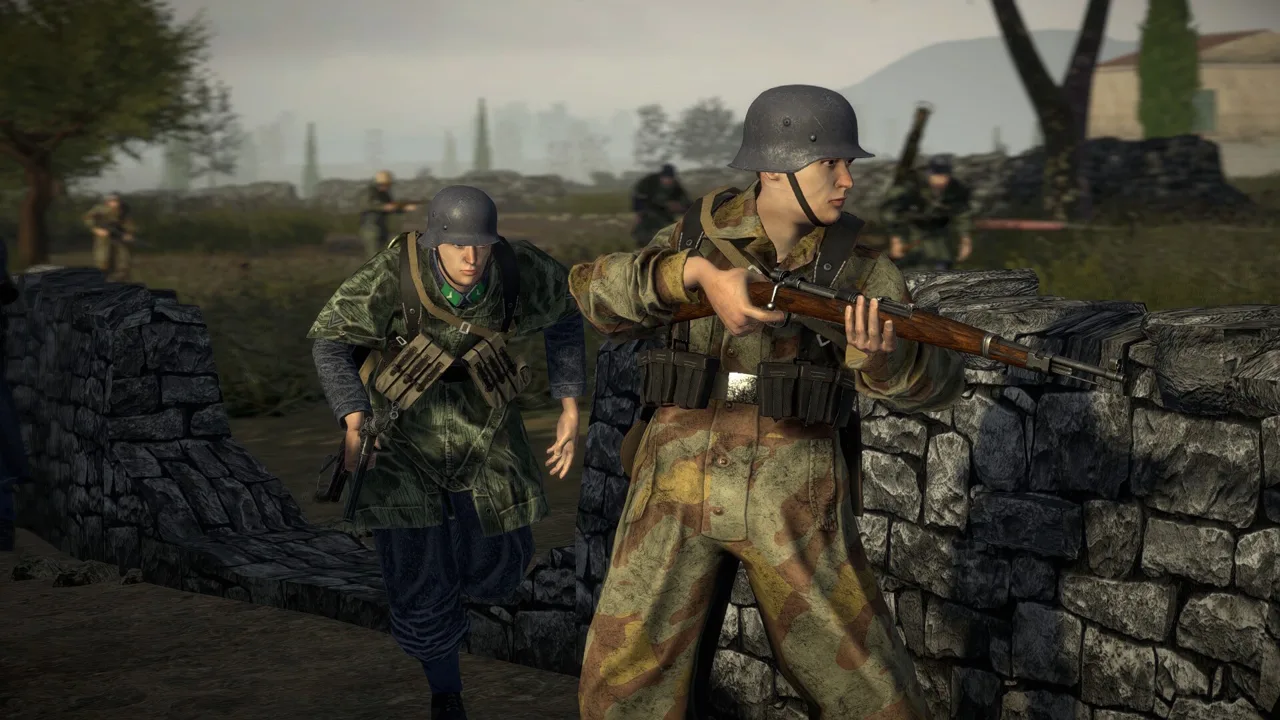 Image: Steam / Marco Amadei
| Soldier | Mission | Phase and search area |
|---|---|---|
| Leonard C. Brostrom | Pushing North | Phase 3 or 4, east of Center Pier |
| Fred Henry Bucholz | Clearing the Admirality Area | Phase 2, eastern flank during the bunker attack |
| Robert H. McCard | The Last of Kwajalein | Phase 2, after the Americans capture the first point; eastern flank near the beach |
| Michiyuki Yamada | Eastern Namur | Phase 2, defending the large bunker |
| Steve Hopkins | Holding the Line | Phase 3, defending the capture point |
| Aquila J. Dyess | Northern Defenses | Phase 2, attacking the western capture point |
| James Roosevelt II | Red Beach Invasion | Phase 3, attacking the western capture points near the beach |
| Seizo Ishikawa | Ukiangong Village | Phase 3, defending the village |
| Elio Bizzari | Piercing the Jungle | Phase 2, crossing the river |
| Gardiner Conroy | Yellow Beach Landings | Phase 2, storming the beaches |
| George Antolak | Main Defensive Area | Phase 2, attacking the western capture point |
| Hiroshi Sawami | Main Defensive Area | Phase 4, defending Stone Pier |
On Makin, James Roosevelt II carries the M1941 Johnson LMG and Colt M1911A1. Elio Bizzari has a particularly recognizable pairing: a Type 38 rifle with a bayonet and an M1 Carbine.
For Main Defensive Area, search the western objective during Phase 2, then return your attention to Stone Pier in Phase 4 for Sawami.
Shanghai and Nanking Loadouts
The Chinese campaigns also have named soldier unlocks. Their equipment offers useful targets when choosing which loadouts to pursue:
- Shanghai: Huang Meixing carries a ZB-26 and Type 24 Rifle; Zheng Shaoyan pairs a ZB-26 with a stocked Mauser C96 “Schnellfeuer.”
- Shanghai: Japanese loadouts include Kazuomi Uchida with a Type Be and Type 14 Nambu Pistol, and Tokiharu Kuranaga with a Type 11 LMG and Type 38 Rifle.
- Nanking: Luo Yufeng carries a ZB-26 and Mauser C96; Xie Chengrui uses an M1920 'Tsing Tao' and Type 24 Rifle.
- Nanking: Sadao Yamanaka carries a Type 38 Rifle and Type 14 Nambu Pistol; Saijo Yaso pairs a Type 11 LMG with a Ruby Modèle 1915.
Stalingrad and Normandy Dog Tag Locations
Stalingrad’s special soldiers include several scoped-rifle and unusual sidearm combinations. Normandy’s searches frequently use beach positions, drop zones, and captured objectives as landmarks.
| Soldier | Mission | Phase and search area |
|---|---|---|
| Vasily Kvachantiradze | Main Residential Invasion | Phase 3, near the capture point |
| Maksim Passar | Seizing The Railyard | Phase 2 for the Germans, behind the wooden barrier between the wagons |
| Erwin Konig | Southern Assault | Phase 4, near the previous phase’s capture point |
| Vasily Zaitsev | Volga River Crossing | Phase 3, left capture point between ruined houses |
| Mikhail Panikakha | Encircling the Grain Elevator | Phase 5, left capture point behind sandbags |
| Yakov Pavlov | Pavlov's House | Phase 1, inside the house at the first capture point |
| Ivan Kharchenko | Industrial Roundabout Shootout | Phase 2, right capture point near the Flak 88 |
| Walter Mitty | Omaha Beach | Phase 1, left side of the beach near the tank barge |
| Norman Cota | Omaha Beach | Phase 3, near the Flak 38 positions |
| Stanley Hollis | Sword Beach | Phase 2, near the right capture point |
| Richard Winters | Utah Beach | Phase 2, behind you on the left side of the beach |
| Josef Porta | Pointe du Hoc counterattack | Phase 2, near the main road; the opening phases must be won by the Germans |
| John Howard | Taking Pegasus Bridge | Phase 2, north of Pegasus Bridge |
| Heinrich Severloh | Holding Pegasus Bridge | Phase 3, near the Flak 88; the opening phases must be won by the Germans |
| Harrison Summers | Encircling Carentan | Phase 3, near the crashed C-47 |
| Kurt Beigang | Battle for Carentan | Phase 3, defending the opposite riverbank at Carentan’s entrance |
For an Obrez Pistol loadout, pursue Vasily Kvachantiradze or Ivan Kharchenko. Kvachantiradze combines it with an SVT-40, while Kharchenko carries a PPSh-41.
Yakov Pavlov carries a PPSh-41 and PTRD-41, but that heavy loadout prevents running. Account for that movement restriction when choosing him for a mission.
In Normandy, pay attention to the victory conditions attached to Porta and Severloh. Reaching a numbered phase alone is insufficient when their appearance requires earlier German victories.
Sainte-Mère-Église
This mission has multiple targets across consecutive phases:
- Robert Cole: Phase 2, near the drop zone during the town attack.
- John Steele: Phase 2, near the drop zone during the town attack.
- Jack Agnew: Phase 3, after Sainte-Mère-Église is captured.
Cole and Steele carry M1A1 Thompsons and Colt M1911A1 pistols. Agnew carries an M3A1 Grease Gun.
French Ardennes and Bastogne Dog Tags
These campaigns cover different battles and maps. Use the mission title to distinguish the 1940 French Ardennes targets from the Battle of the Bulge soldiers.
| Soldier | Mission | Phase and search area |
|---|---|---|
| Pierre Beaugrand | Donchery Blitz | Phase 4, attacking the southern point in Donchery |
| Walther Rubarth | Sedan Blitz | Phase 2, on top of the hill |
| Pierre Bes De Berc | Blitz on Stonne | Phase 4, defending one of the capture points |
| Hermann Balck | Reinforcing Stonne | Phase 4, behind the repair station at the southern point |
| François De Salaberry | Taking Back Stonne | Phase 2, French left flank near the northern point |
| William R. Desobry | Burning Noville | Phase 2, behind American lines |
| Jack Edwards | Mageret Assault | Phase 2, northern point of town on the American left flank |
| C.E. Jones | Marvie Counterattack | Phase 2, attacking central Marvie on the American right flank |
| Arthur Otto Beyer | Battle at Foy | Phase 1, American forest entrenchments south of Foy |
| Ronald Speirs | Battle at Foy | Phase 3, American right flank during the push into the town center |
| James Richard Hendrix | Through Flamierge | Phase 5, north of the small town being attacked north of Flamierge |
| Anton Becker | Retaking Noville | Phase 3, near the town center during the attack |
Battle at Foy offers two searches at widely separated stages. Look for Beyer in the forest positions during Phase 1, then search the American right flank for Speirs during Phase 3.
Hendrix’s M1 Garand and M1A1 Bazooka combination distinguishes him during Through Flamierge. Edwards instead carries a BAR M1918 with a bipod.
Budapest and Lake Balaton Special Soldiers
Siege of Budapest
Start with missions that have clear objective cues:
- Anton "Toni" Ameiser — The Suburbs Run Red: Phase 2, defending the right flank. He carries an FG-42/II and MP40.
- Edomer Tassonyi — The Suburbs Run Red: Phase 2, defending the right flank. Look for a Hungarian uniform, Bocskai cap, Danuvia 43M, and Panzerfaust 100.
- Pyotr Khrychev — Shattering the Attila Line: Phase 3, the penultimate phase, attacking the town. His loadout combines a Mosin-Nagant M38 Carbine and DP27.
- Virgil Rusu — Race to the Danube: Phase 1, attacking. He carries an Orita M1941 and Beretta M1934.
- Alexandru Dobriceanu — Tombs of the Past & Present: Phase 3, attacking the northernmost point. His weapons include an MP41 and Panzerfaust 60.
- Vasile Podhorschi — Tombs of the Past & Present: Phase 5, after capturing the cemetery park, attacking the northernmost point. He carries an MAB38A and Mannlicher 95/30.
- Constantin Marinescu — Urban Sprawl: Phase 3, attacking the southern point. Look for a Romanian winter uniform, radio, ZB vz. 30, and MP 40.
- Gerhard Schmidhuber — Southern Thrust: Phase 2, defending the western point. He carries an MP 41 and Luger P.08.
The two targets in The Suburbs Run Red share a phase and flank. Use their German and Hungarian uniforms, along with their different weapons, to tell them apart.
Operation Konrad
Ivan Bulaenko appears in The Medieval Capital, Phase 3, defending the southern capture point. His PPS-43 and Obrez Pistol loadout provides another route to the unusual Soviet sidearm.
Vladimir Fedorovich Chekalov appears in Eastern Counteroffensive, Phase 4, attacking the northern capture point. He carries a PPS-42 and Mosin-Nagant M38 Carbine.
Operation Spring Awakening
- Georg Hurdelbrink — Armored Onslaught: Phase 2, attacking the western capture point. His MP 38 is paired with an RPzB 54 Panzerschreck.
- Galaktion Alpaidze — The Slog: Phase 3, the penultimate phase, defending the mill. He carries a scoped SVT-40 and Panzerfaust 100.
- Pyotr Skorikov — Desperate Night Raid: Phase 3, defending the eastern capture point. His weapons include a PPS-43 and TT-33.
These operations share the Lake Balaton map, so check the shared loadout selection after collecting their tags.
Achievement Tracking and Missing Loadouts
The game includes a Dog Tag Collector Steam achievement. Keep your collection checklist organized by map and soldier so you can distinguish a collected tag from equipment you merely picked up.
| Entry | Relevant detail |
|---|---|
| Dog Tag Collector | Steam achievement |
| Version 2.1.1 | Includes Kwajalein and Roi-Namur map fixes, plus mission-related fixes |
When a special soldier is missing from your selection or a search turns up nothing, work through the relevant checks:
- Collected weapons without unlocking the soldier: Interact directly with the body; inventory looting alone does not collect the tag.
- Unlocked soldier missing from another campaign: Check the official map. Kwajalein and Roi-Namur maintain separate selections.
- Special soldier missing from the spawn list: Select the loadout before the mission, then use an infantry squad selection and check the final soldier entry.
- Already used the special soldier: The loadout provides one spawn in that mission.
- Target absent from the listed area: Match the mission, phase, and any required earlier victories. For Porta and Severloh, the opening German victories are part of the search conditions.
Continue with
 Easy Red 2 Unlock All Missions: Skip Campaign LocksEasy Red 2 unlock all missions guide: learn the keyboard shortcut, how campaign progress saves, and which settings to watch before your achievement run.
Continue exploring
Easy Red 2 Mods: Custom Missions, Maps, and Vehicles
Explore Easy Red 2 mods for custom maps, missions, vehicles, and factions. Learn about PC support, Workshop dependencies, and new mission scripting tools.
Easy Red 2 DLC Guide: Campaigns, Prices, and Updates
Explore Easy Red 2 DLC campaigns, compare Steam prices, and find out what Stalingrad, Normandy, Ardennes, Shanghai-Nanking, and Blood on the Danube add.
Join the community
Official channels for news, updates and player help: