
Easy Red 2 Khalkhin Gol: Campaign and Combat Guide
Easy Red 2 Khalkhin Gol brings nine missions to Mongolia. Explore the factions, new weapons, armored warfare, and combat tips for the Cold Steel update.
Jump to
Is Khalkhin Gol Available in Easy Red 2?
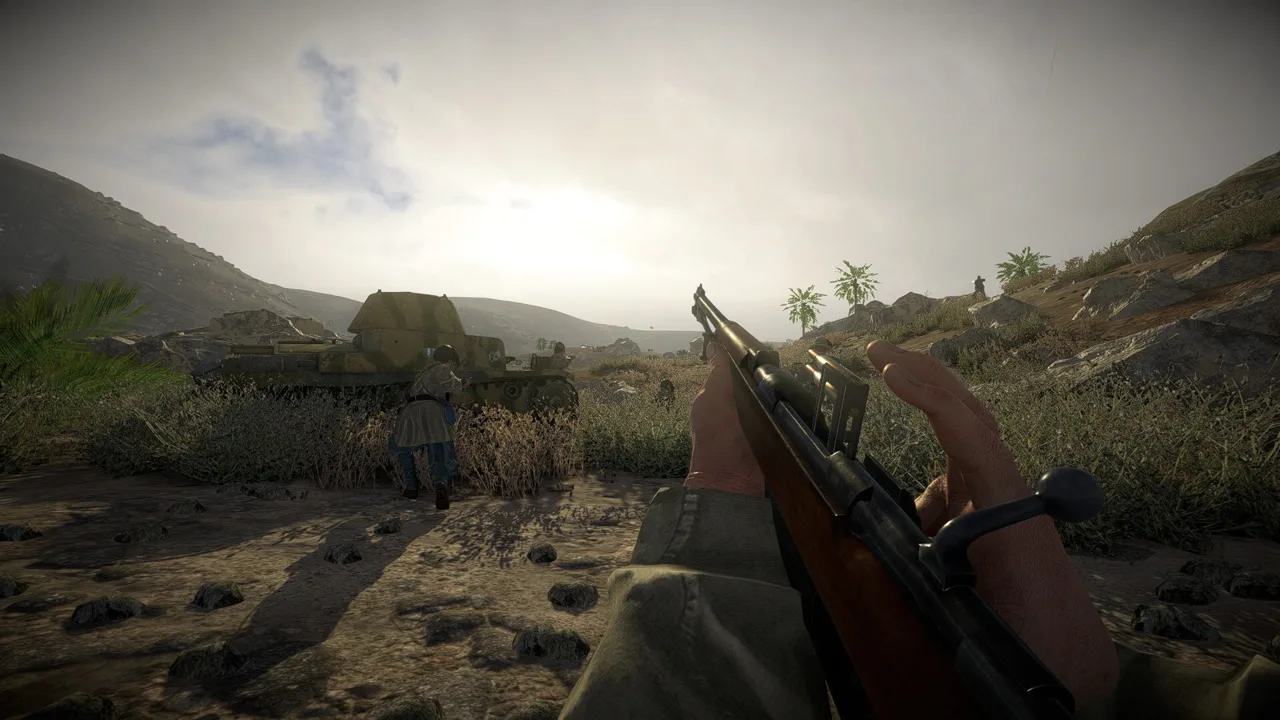
Easy Red 2 Khalkhin Gol puts you on Mongolia’s open steppes, where crossing exposed ground and handling enemy armor demand careful positioning. The campaign arrived with version 2.1.1, the Cold Steel update, bringing nine missions set during the Soviet-Japanese conflict of 1939. Its battles move from border skirmishes into armored offensives, giving infantry support and vehicle combat plenty of room to matter.
Here are the campaign essentials:
- Mission count: 9 unique missions.
- Setting: Mongolia during the summer of 1939.
- New represented factions: Mongolia and Manchukuo.
The campaign covers early clashes between Mongolian cavalry and Manchurian forces, engagements involving the Japanese 23rd and 7th Divisions, and fighting against the Soviet 36th Motorized Division. Later events include armored combat around Bain-Tsagan Hill, Zhukov’s counteroffensives, and the encirclement and retreat of Japanese forces.
These are stages of a widening conflict, so prepare for the battlefield’s demands to change as the campaign moves toward larger engagements.
Official page: Easy Red 2 (easyred2.com)
Factions, Uniforms, and New Weapons
Mongolia and Manchukuo arrive with their own voice acting, uniforms, weapons, and equipment. That gives the campaign a distinct identity beyond putting familiar armies onto a different landscape.
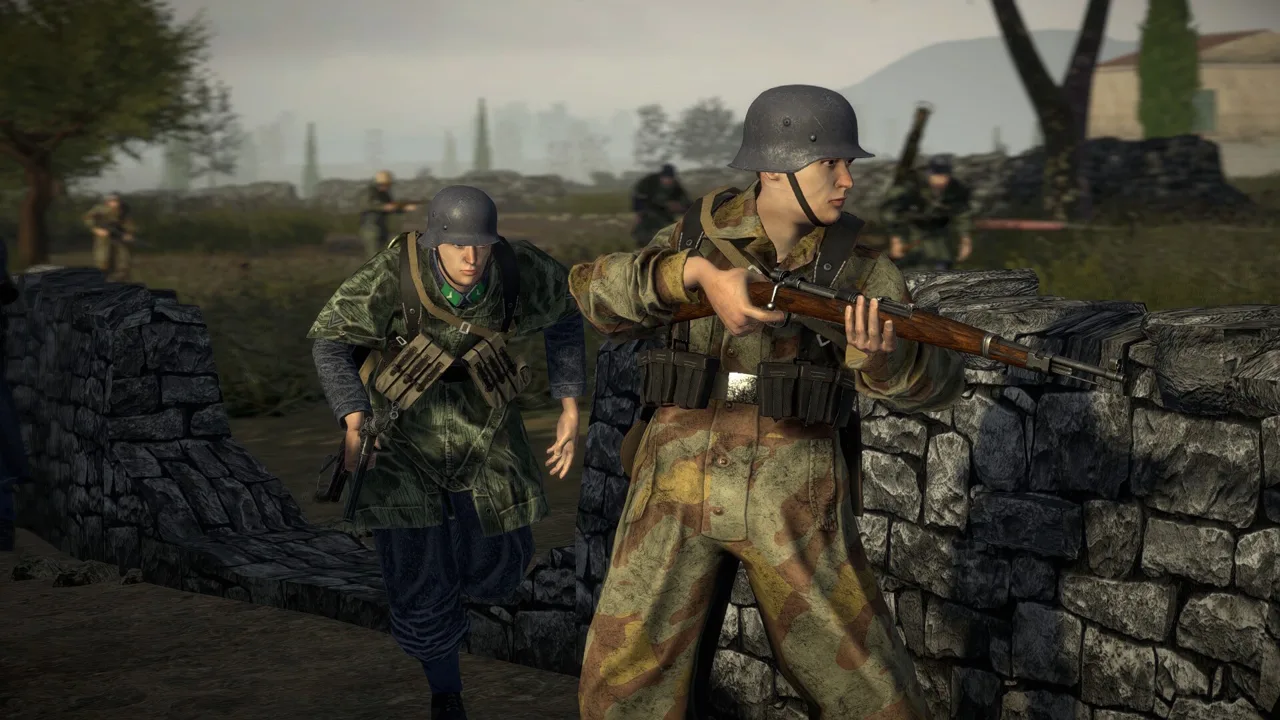 Image: Steam / Marco Amadei
Cold Steel also expands the arsenal with weapons relevant to its early-war focus:
- Rifles and carbines: AVS-36, Arisaka Type 44 carbine, Arisaka Type 30 and its Manchu variant, and Liao Model 13 rifle.
- Machine gun: DT-29.
- Sidearms: Type 26 revolver and Nagant M1895 revolver.
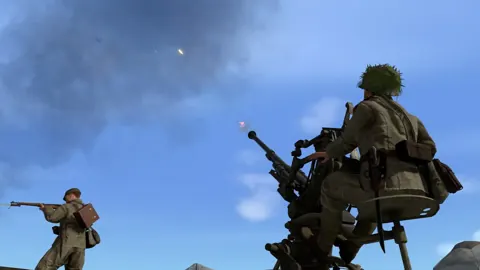
- Support weapons: Type 89 Grenade Discharger, Type 98 20mm AA gun, and Type 38 Kai 75mm howitzer.
- Melee weapons: Dadao sword, Cossack M1927 Shashka, and Type 95 Shin Gunto.
The update also changes specific loadouts: Japanese tank crews carry the Type 26 revolver, while Japanese officers carry the Type 95 Shin Gunto.
Check your soldier’s inventory when changing roles. If you pick up an enemy weapon, collect its compatible ammunition too; carrying the gun alone will leave you unable to reload once it runs dry.
Tanks and Aircraft in the Cold Steel Update
Khalkhin Gol’s wide grasslands give armored engagements a central place in the campaign. Alongside its release, Cold Steel adds and revises several Soviet and Japanese vehicles:
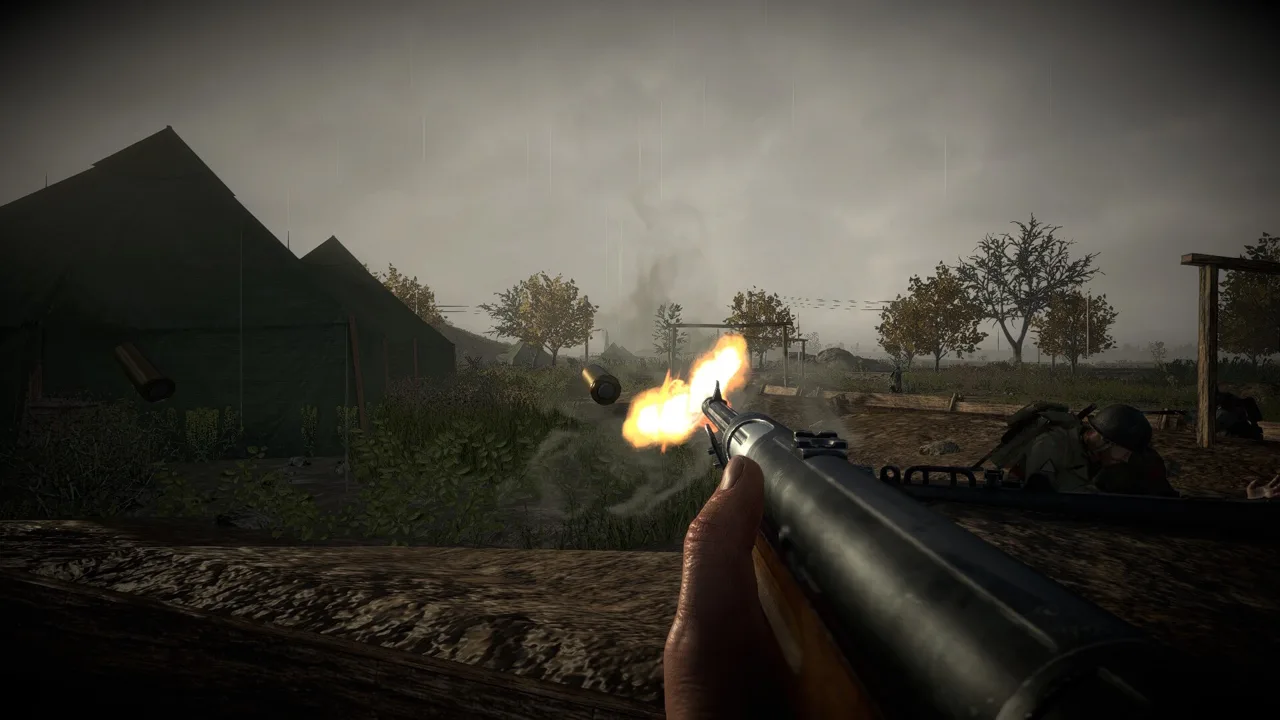 Image: Steam / Marco Amadei
- Soviet ground vehicles: BT-5, KhT-26 (OT-26), and BA-20 additions, plus reworked BT-7 obr. 1937 and BT-7 obr. 1935 variants.
- Japanese armor: Type 97 Te-ke variants armed with either a 37mm cannon or a 7.7mm machine gun.
- Soviet aircraft: I-15 and I-153, including RBS-82 variants.
- Japanese aircraft: Mitsubishi Ki-30 Light Bomber.
These are update additions and revisions; your mission’s available units determine what you can actually deploy.
Make Your Shots Count
Use armor-piercing ammunition against enemy tanks when your vehicle or gun carries it. Seek a side or rear shot rather than repeatedly firing into frontal armor, and favor a square impact over a sharply angled hit.
Vehicle damage affects individual components. An immobilized tank can still fire, so keep watching its turret after damaging its tracks. Use your machine guns against exposed infantry while keeping the cannon ready for armored threats.
Practice with the shooting range’s penetration display before committing to a long engagement. It lets you examine how armor placement and impact angle affect a weapon’s ability to penetrate.
Using the Knee Mortar and New Melee System
Cold Steel brings two substantial changes to infantry combat: a portable Japanese grenade discharger and an expanded system for weapons held directly in hand.
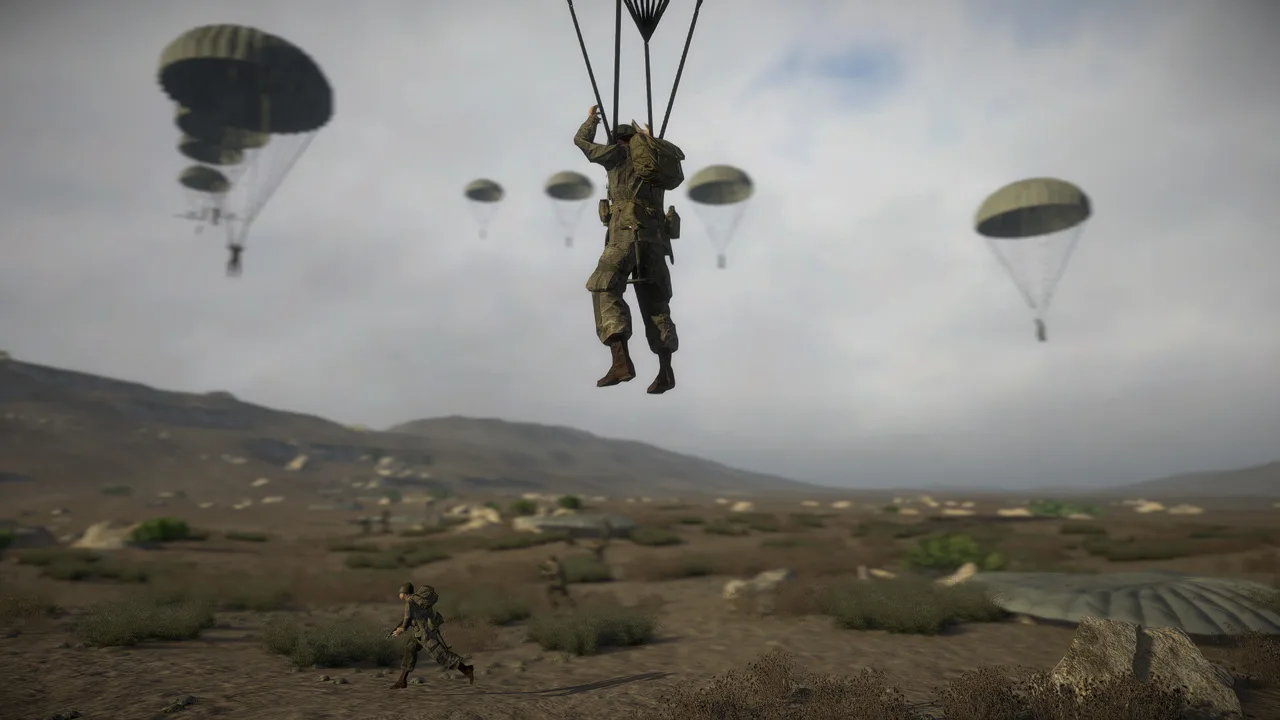 Image: Steam / Marco Amadei
Type 89 Grenade Discharger
The Type 89, also called the Knee Mortar in-game, has an adjustable range scale and dedicated operating animations. Japanese grenadier squads contain 3 grenadiers, each carrying 8 Type 91 grenades for ammunition.
AI grenadiers can respond to a squad leader’s artillery orders. They can also engage autonomously when their squad has spotted enemies outside their direct line of fire.
Use that indirect-fire capability against spotted enemies behind intervening terrain. Adjust the range scale for the target distance, and use squad orders to direct your grenadiers’ support.
Bayonets and Swords
The new melee system supports the Japanese Gunto and selected bayonets, with animations for slashing, stabbing, and blocking.
- Hold the melee button to draw or put away your bayonet as a knife.
- Press 3 on keyboard to cycle through melee weapons in your inventory.
- Switch between melee weapons through the inventory or quick menu without drawing your firearm between them.
Enemy AI can draw melee weapons at close range, including when its firearm is empty. Keep your distance from an approaching soldier even after their shooting stops, and check your own ammunition before pushing into close quarters.
Tactics for Fighting Across Open Ground
The campaign’s terrain makes movement between firing positions a recurring concern. Build your attacks around cover, squad coordination, and the support your current mission provides.
Cross With Covering Fire
Move while another player or part of your squad fires on the enemy position. Once you reach cover, return fire so the next soldier can advance.
Use terrain to break enemy sightlines. High ground improves observation, but avoid standing exposed on a crest while searching for targets.
Flank Concentrated Fire
When an enemy position stops your advance, check the map for another approach. Direct your squad toward a different attack direction instead of feeding soldiers into the same firing lane.
Keep an eye on the objective as you maneuver. A wide flank still needs to bring your squad into a position that helps capture or defend it.
Protect Support Roles
Keep your radioman nearby when using squad leader support requests, and check that the requested support is available in the mission.
Move wounded soldiers into cover before treating them. Match the treatment to the casualty’s displayed injury indicator, and avoid sending the medic into the same exposed position that caused the casualty.
How Dynamic Operations Differs From the Campaign
Version 2.1.1 also introduces a Dynamic Operations prototype, a separate mode built through the game’s mission scripting tools.
Its battles use seed-based generation. Reusing the same seed reproduces a particular battle, letting you return to that setup and try another approach.
The objectives revolve around capturing zones:
- Controlled zones earn victory points and reinforcement tickets.
- Reinforcement tickets can purchase better-equipped units.
- Capturing additional zones strengthens your position across the battlefield.
Plan your next capture around both the victory-point objective and the reinforcements it can fund. Reuse a seed when you want to compare different opening moves on the same battlefield.
Continue with
 Easy Red 2 Maps: Campaigns, DLC, and Custom BattlefieldsExplore Easy Red 2 maps across Tunisia, the Pacific, and Europe. Compare campaign DLC, discover Khalkhin Gol, and start building your own battlefields.
More in Campaigns & DLC
Easy Red 2 Blood on the Danube: Campaign and DLC Guide
Explore Easy Red 2 Blood on the Danube, with three campaigns, 30+ missions, new factions, heavy tanks, and night vision gear. Plan your return to Hungary.
Easy Red 2 DLC Guide: Campaigns, Prices, and Updates
Explore Easy Red 2 DLC campaigns, compare Steam prices, and find out what Stalingrad, Normandy, Ardennes, Shanghai-Nanking, and Blood on the Danube add.
Easy Red 2 Normandy: Missions, Beaches, and DLC Guide
Explore Easy Red 2 Normandy's 20 missions, D-Day beaches, Pointe du Hoc hooks, and uniforms, plus DLC requirements and platform details before you play.
Easy Red 2 Shanghai Nanking: Campaign and DLC Guide
Explore Easy Red 2 Shanghai Nanking with campaign details, Chinese weapons, vehicles, platform differences, and practical tips for fighting through China.
Continue exploring
Easy Red 2 Guide: Squad Tactics, Weapons, and Vehicles
Use this Easy Red 2 guide to learn squad commands, manage ammo, call artillery, fight tanks, and handle the new melee system and Dynamic Operations mode.
Easy Red 2 Reddit Guide: Tips, Co-Op, and PC Features
Searching Easy Red 2 reddit for help? Find practical squad tactics, co-op basics, modding details, and ways to avoid outdated combat tips before you play.
Join the community
Official channels for news, updates and player help: